This gallery will give you an in-depth breakdown of my hard surface modeling process. The study will take you from concept to final textured game ready asset. Although the asset will be textured I will be focusing on my modeling and UVing process in this tutorial.

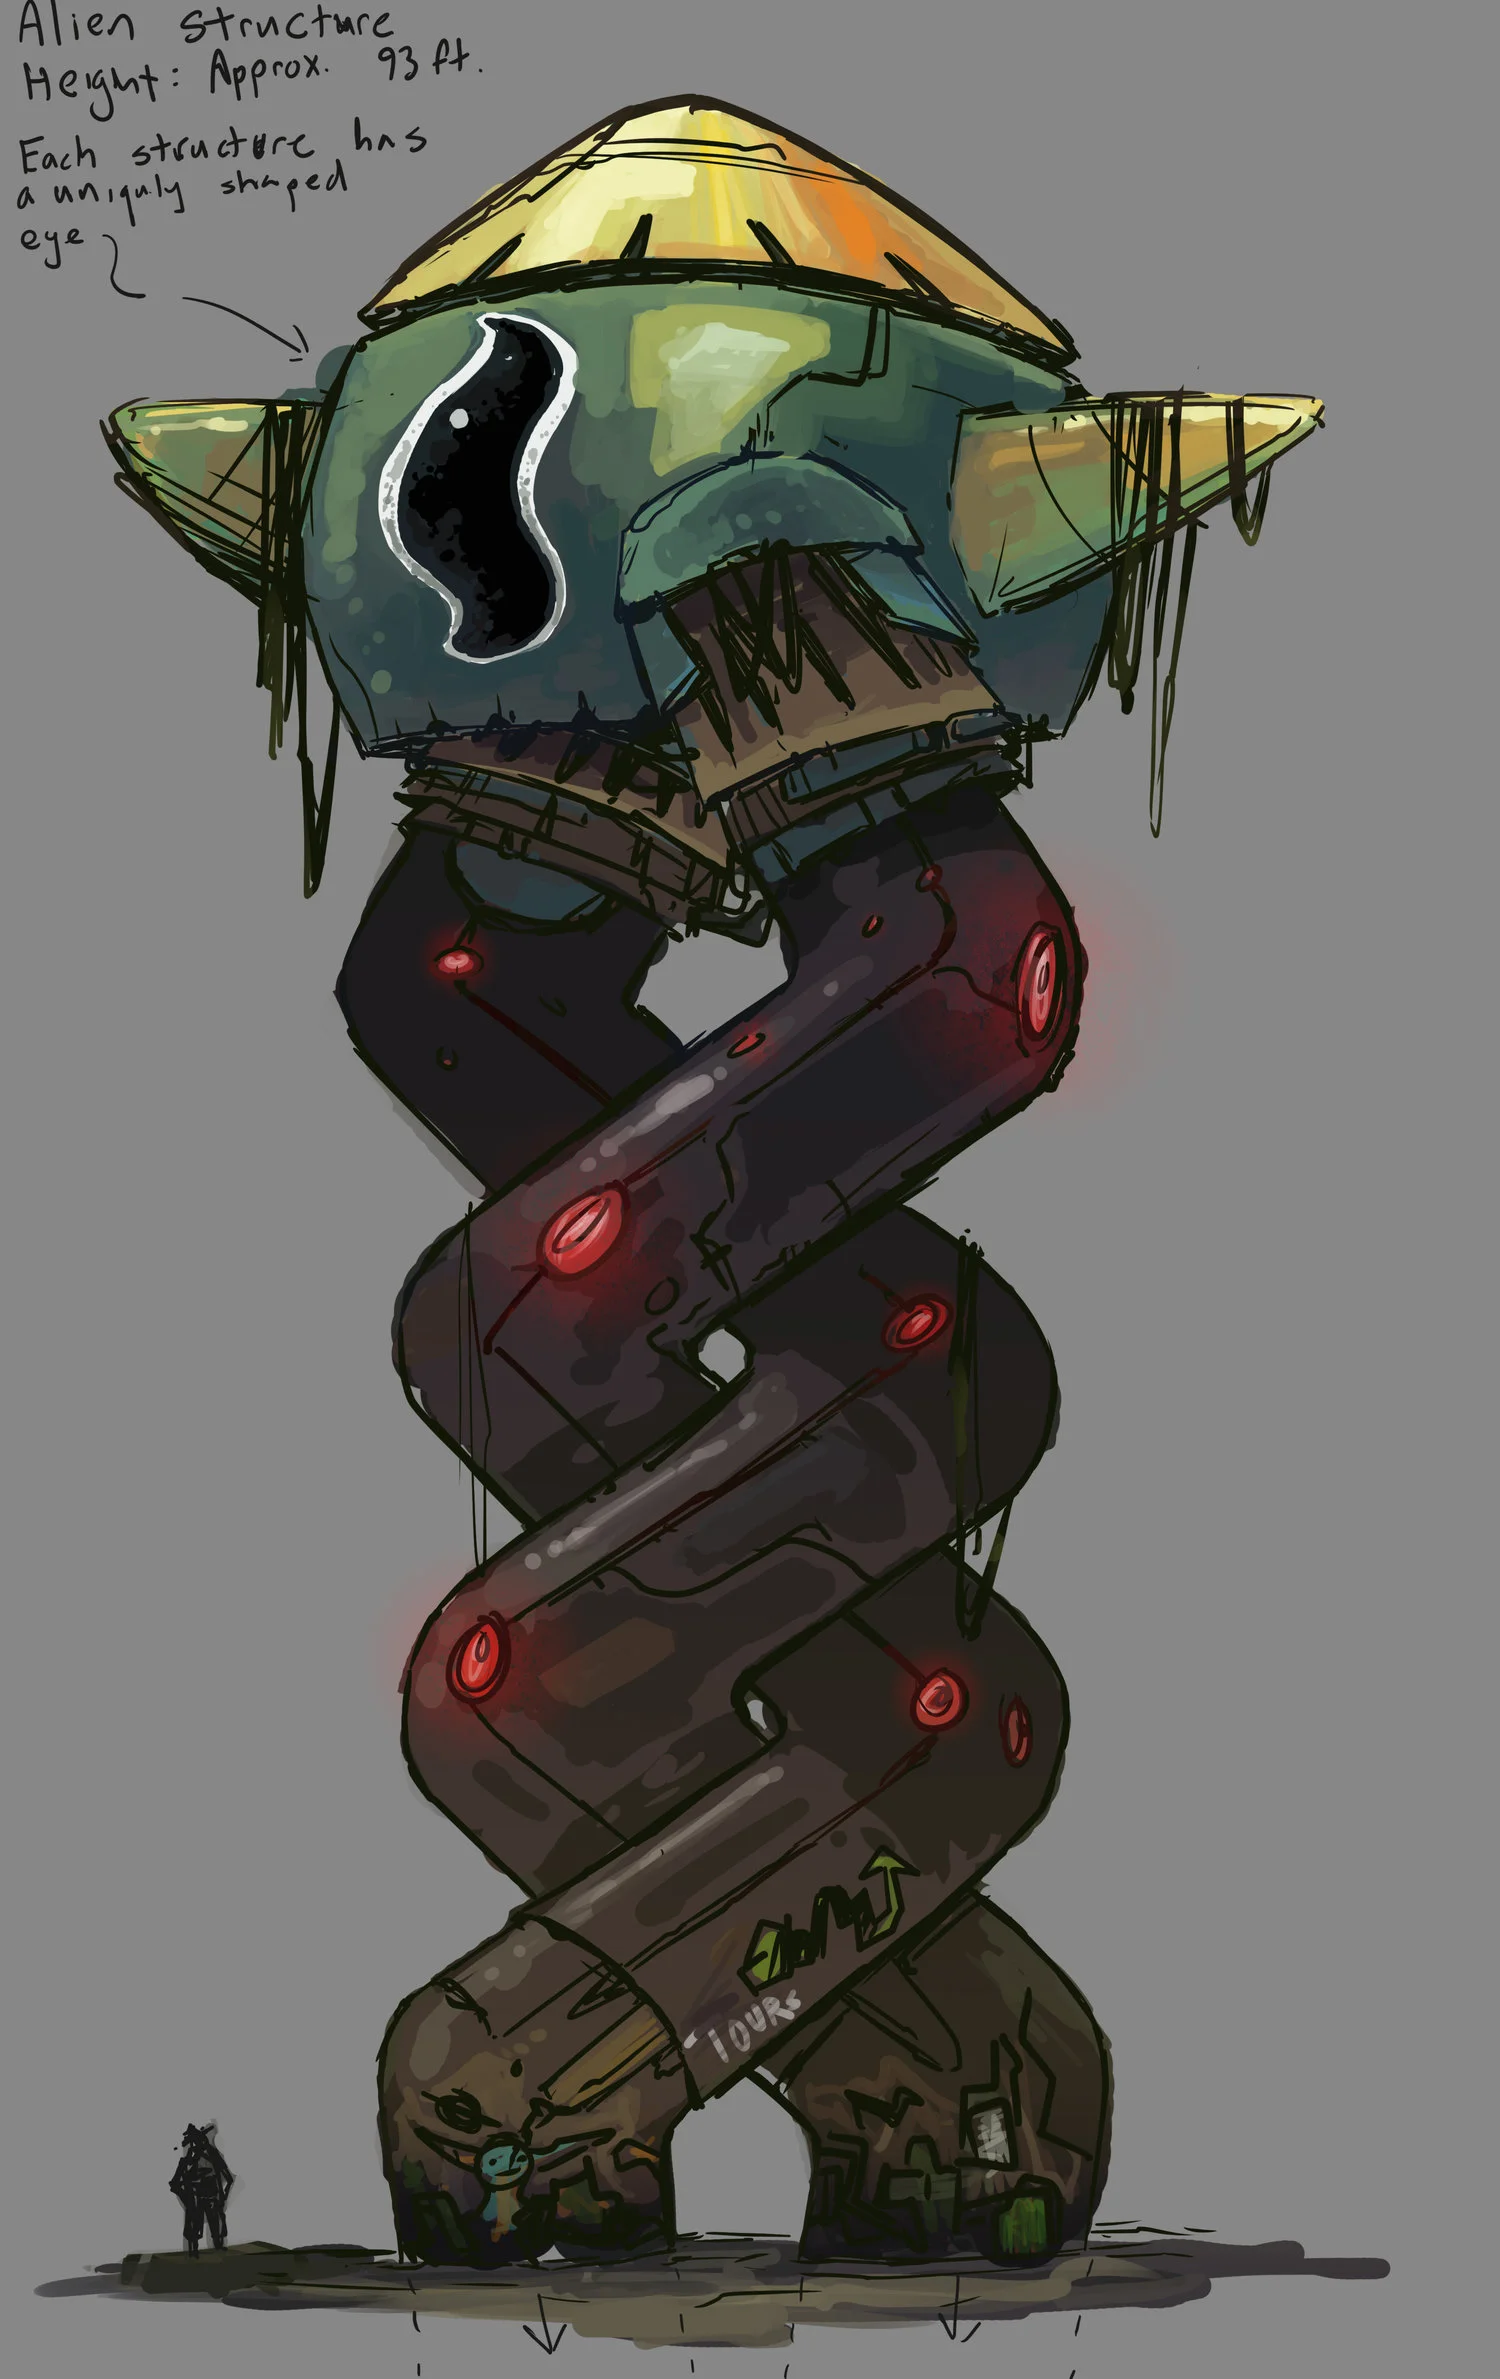
Since I am creating this asset from scratch, I did rigorous concept work, fleshing out my idea before beginning modeling.

I go from traditional sketchbook drawings to a finalized digitally rendered concepts, disecting every aspect of the model.

Modeling Stage: Now that I have the concept thoroughly fleshed out, I can start modeling. I bring my concept into Maya as a reference and use primitive shapes to block out my model.

Here I am using cylinder segments as the foundation for the spiral. Because the shape of the spiral would be difficult to model with one cylinder primitive, we are going to break it up into sections and connect them together.

Align the segments to what would be the straight sections of the spiral.


Now that the spiral segments are all connected in a single model, we can smooth the mesh to give it a less blocky look. Since this is a focal point in my environment I will keep the high poly.

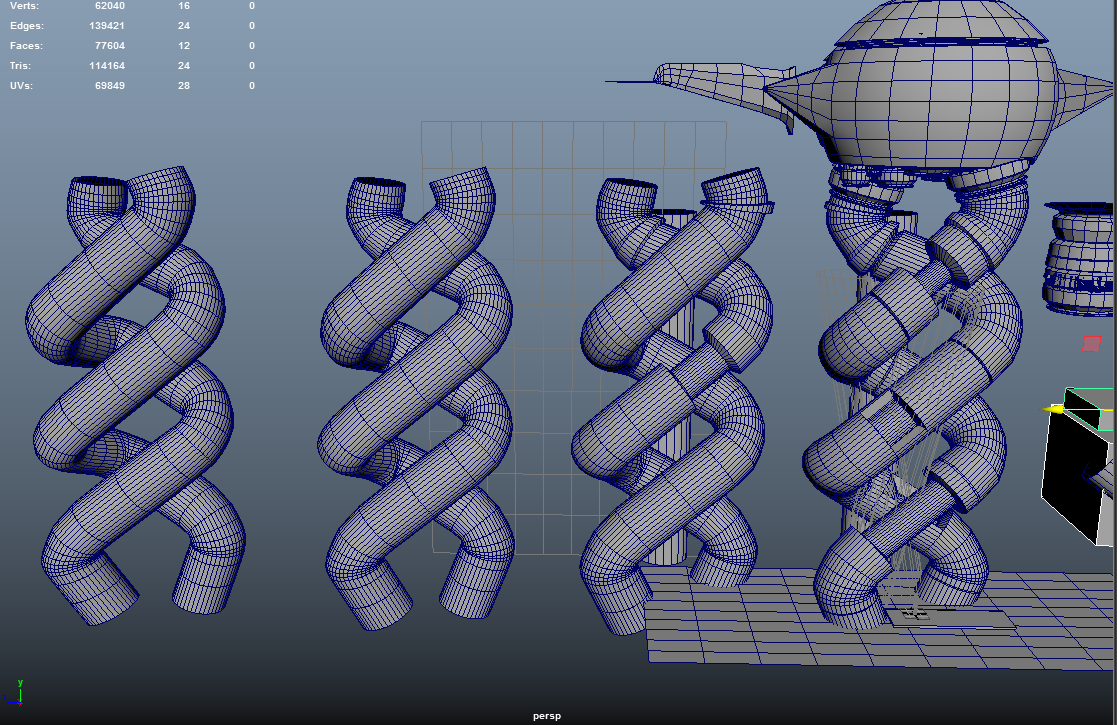

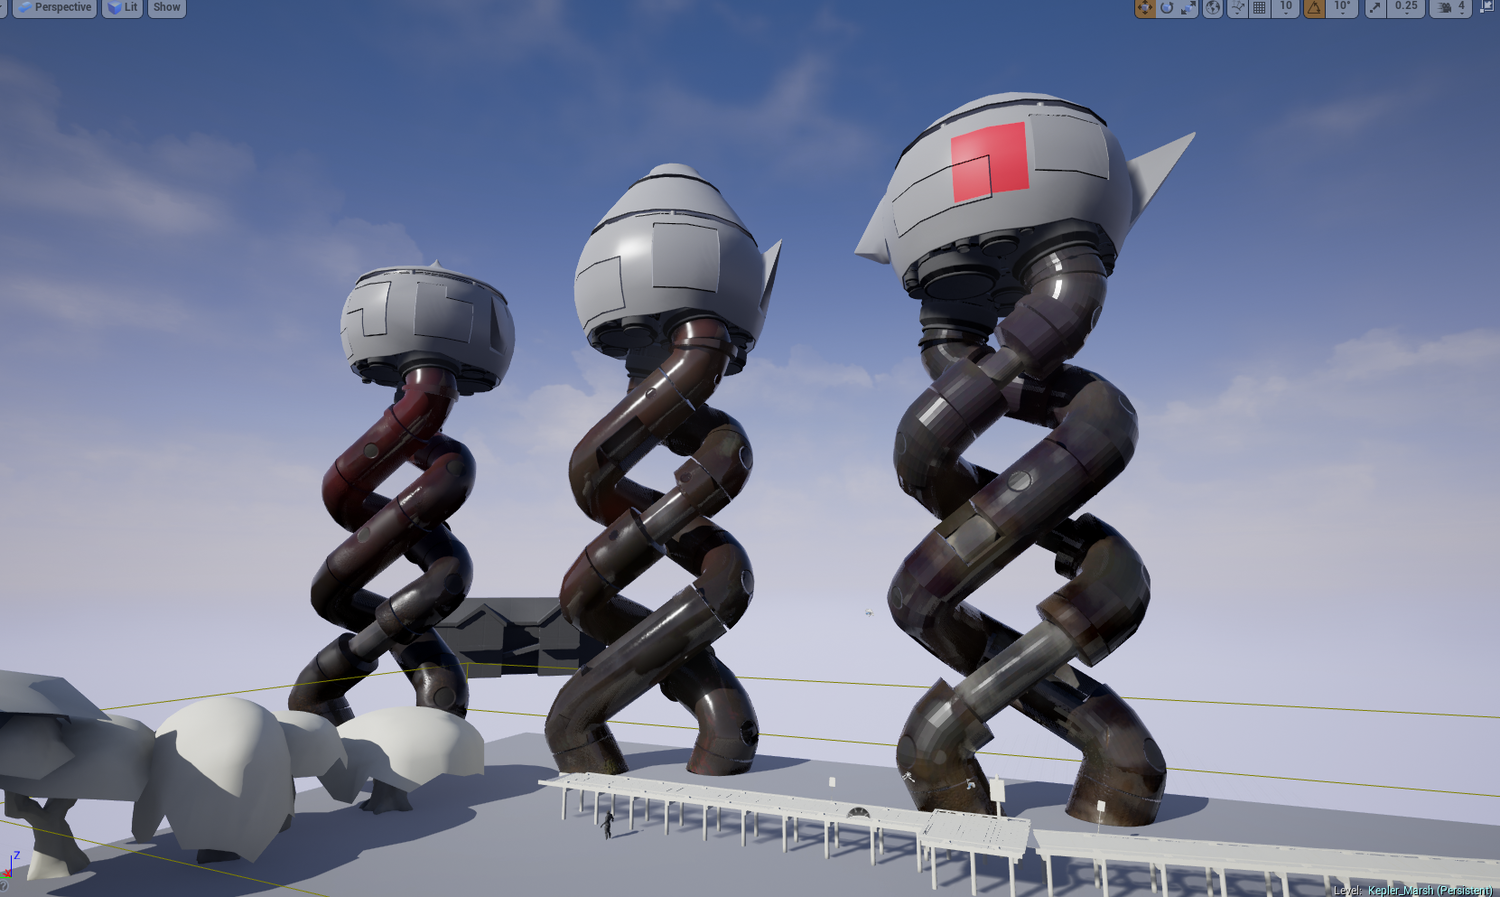
Creating Variation: I went ahead and made a topper for the spirals using a sphere and edge loops and came up with three unique shapes. For the final environment these differing topper styles will add variation to the landscape.


Underside Machinery: Since these are meant to be large towering structures that the player is going to be looking up at, it is important to create something for them to see. These thruster like objects were modeled modeled from a cylinder, duplicated, and scaled to various sizes.


Laying Out UVs: I'm going to skim over this part a bit because I want to focus on the modeling process, but the next series of screenshots is how I laid out the UVs (using UV Layout) and how I separated the UV sheets for the various objects.


FINAL RESULT - Finally after the UVs are laid out, I texture the models in a mix of Substance and Quixel, then import them in whatever game engine I'm using. (In this case UE4) This last series of screenshots are the process from importing the materials and assets and gradually integrating everything into a cohesive environment.